
With the Duramin-40, we can take before and after pictures easily, so we can see potential cracks before we start the tests – and analyze them more efficiently afterwards.Everllence Jesper Vejlø Carstensen Senior Research Engineer, M.Sc., Ph.D.

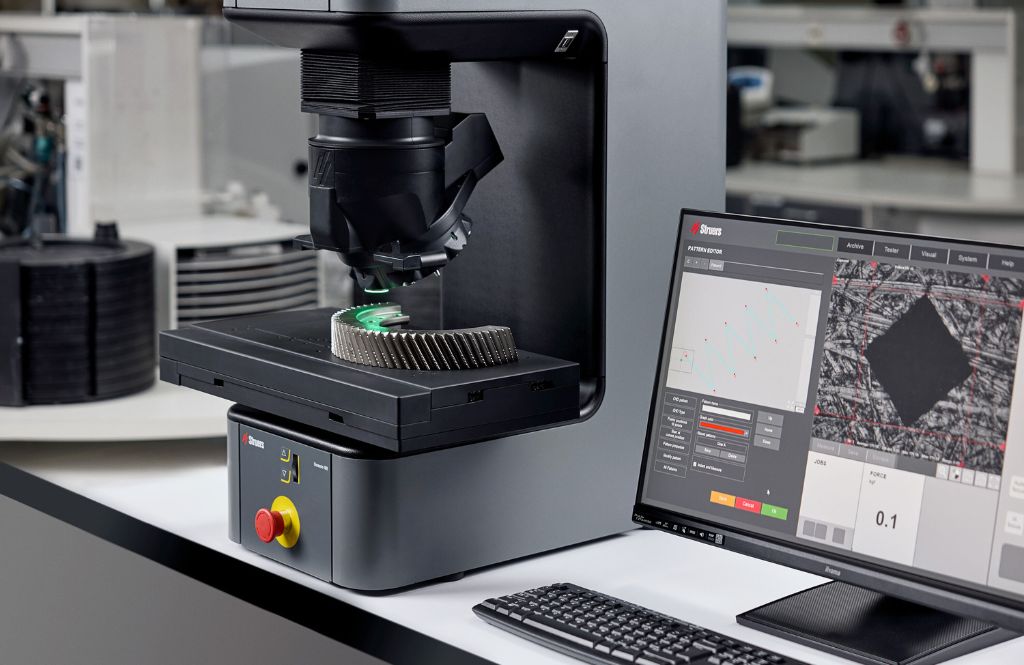
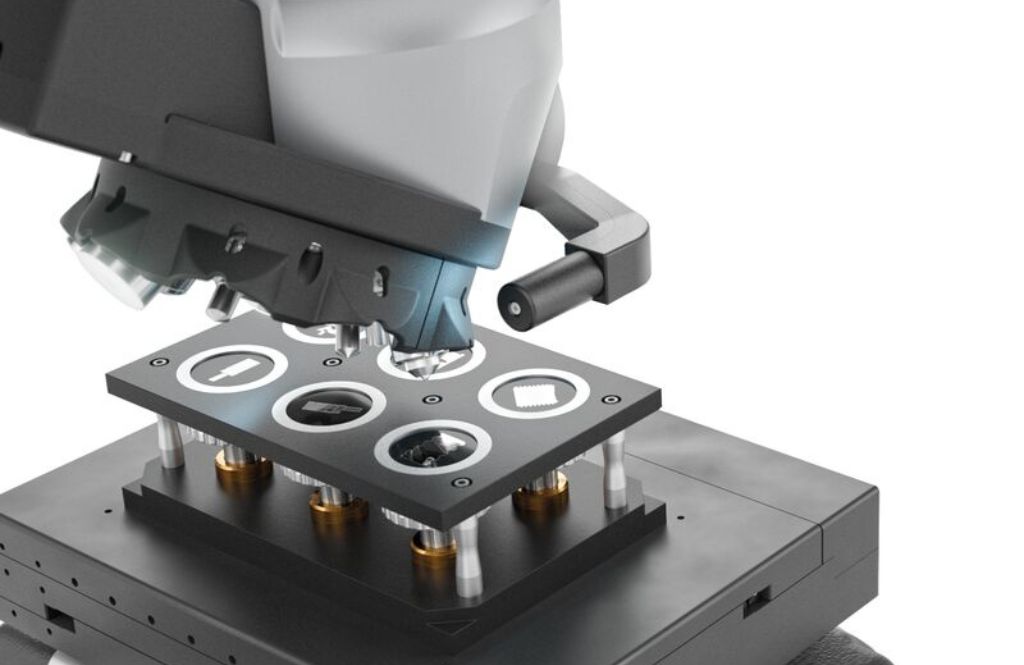


The DuraVersa-100 is an automated Universal hardness tester, supporting all common hardness scales like Rockwell, Vickers, Knoop, and Brinell. Offered in three versions, starting from loads as low as 200gf and extending up to 250 kg, 750kg, or even 3000kg, with the option for expansion to include low forces down to 10gf for all 3 versions. Each version features the distinctive 9-position turret, providing flexibility to equip indenters and objectives according to specific application requirements.
The new universal hardness tester is software controlled with a built-in high-resolution camera and motorized Z-axis with auto-focus and auto-measure, thus ensuring repeatable and effortless results. The models with automated stage unleash limitless automation possibilities.
No matter what material you work with, Struers ensures that your lab has the right setup to meet the standards you need, with optimal reproducibility and repeatability of results.
Whether dealing with small or large samples, single or multiple, leveraging the overview camera option offers a clear outline of the testing requirements, facilitating swift and accurate preparation and setup.
With its unique 9-position turret, you can have all your indenters and objectives pre-mounted on the instrument to enable a fast toggle between tasks. By default, the turret has a combined crosshair laser and touch probe to allow fast and easy positioning. Both hard- and software were designed to comply with ISO and ASTM standards; from the load mechanics, the optical system, the high-resolution camera to the advanced software algorithms.
Experience unmatched versatility with a standard load range from 0.2 kgf to 3000 kgf for the DuraVersa-100C, expandable with an optional load extension even down to 10 gf. Covers complete Brinell, Vickers, and Rockwell scales.
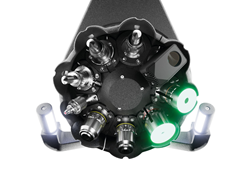
Introducing the DuraVersa-100 with a 9-position turret. The standard touch probe with positioning laser ensures a fast setup. Configure the remaining 8 positions with indenters and measurement objectives to utilize the full load range and access all Brinell, Vickers, and Rockwell scales. Ultimate flexibility and efficiency in one machine.
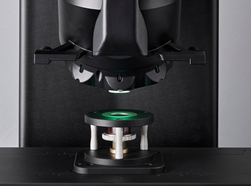
The V-concept ensures rigid and stable testing conditions without compromising the testing height capacity. It eliminates the spindle effect and ensures that the sample is always at the same height above the floor. This secures accurate and reproducible results, regardless of the sample size. It also improves working comfort for operators.
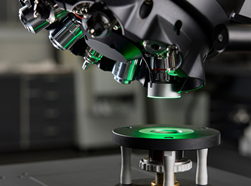
The DuraVersa-100 quickly adjusts to the correct working height by moving the measurement turret down until it touches the sample's surface – touch focus. This enables faster and easier setup of hardness tests and allows for working with samples of various heights.
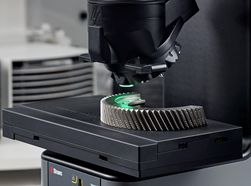
The machine automatically stops operating in the event of a collision or any unexpected vibration or movements. This prevents indenters and lenses from being damaged and provides optimal operator safety.
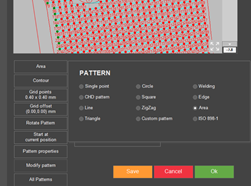
A number of software modules are available to match particular applications. These include modules covering case hardness depth measurement (CHD), weld measurement, surface mapping, edge detection, and Kc fracture toughness calculation.
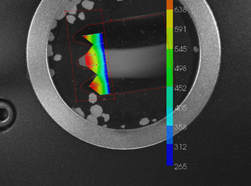
The optional overview camera makes it easy to position the test point series across a sample and execute it with a few mouse clicks. This feature ensures simplified execution and setup and is helpful when performing repetitive or high-volume measurements or weld testing with a few mouse clicks. This feature ensures simplified execution and setup, and is helpful when performing repetitive or high volume measurements, or weldtesting.
Enjoy higher resolution for finer features, perfect for technical papers and reports. Enhanced digital zoom means fewer objectives needed, saving you money. Combined with the DuraSoft-Met module, the DuraVersa-100 doubles as a low magnification microscope for precise measurements on etched samples.
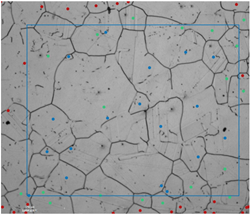
For measuring substrate hardness, layer thickness, grain size, or phases in limited lab space or needing fast evaluations in production, the DuraSoft-Met module is your solution. Save valuable time with its improved workflow, combining hardness testing and metallography analyses in one machine. With the DuraSoft-Met module, the DuraVersa-100 doubles as a low magnification microscope for precise measurements on etched samples.
The entire DuraVersa-100 range comes with a motorized test head with 9-position turret, a high-resolution camera, LED illumination, and DuraSoft control softeare with auto focus and automatic image evaluation. Each model includes an integrated PC with a 27-inch color touchscreen. The test height can be up to 110 mm depending on the selected stage or anvil. An overview camera (FOV 200 x 160 mm) is available for easy test point positioning.
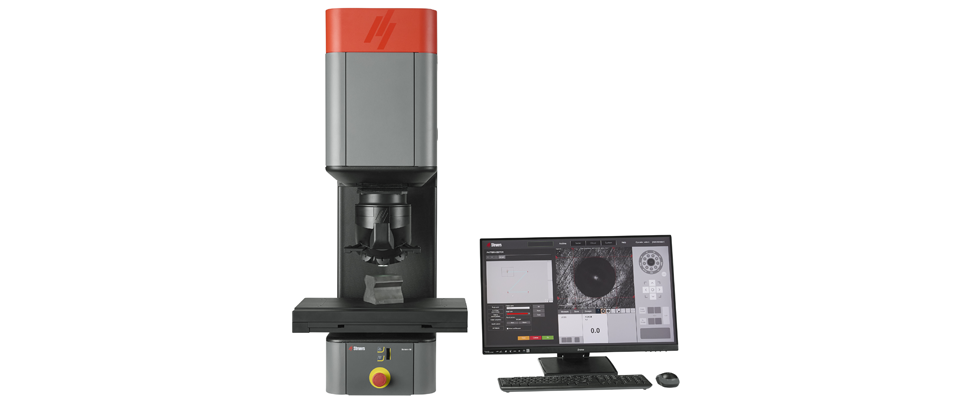


A short and clear description that gives you an immediate overview to help you make the best choice of equipment.
• Capacity and performance specifications
• Dimensions and weight
• Electrical data
• Noice levels
• Safety
Get the full introduction, descriptive visuals, and key feature descriptions to help you qualify your choice of equipment.
• Explanatory fotos
• Key feature descriptions
• Technical Data Sheet
Get more insights and key feature descriptions to help you qualify your choice of equipment.
Learn about:
• Load ranges
• Key feature descriptions
• Expansion possibilities
"True structures require proper and correct applications. Different material properties require broad application knowledge. Struers application specialists are experts in optimizing preparation methods, because application knowledge is necessary to select the correct preparation solutions. Your material – our application solutions.”
Birgitte Nielsen
Application Specialist, Struers ApS
Don’t make do with what we say! Look for the truth in the experiences of the people who use our equipment and knowledge. We asked a few of our loyal customers to tell us what they think is most important about Struers.

With the Duramin-40, we can take before and after pictures easily, so we can see potential cracks before we start the tests – and analyze them more efficiently afterwards.Everllence Jesper Vejlø Carstensen Senior Research Engineer, M.Sc., Ph.D.

We are extremely satisfied with the highly skilled service delivered by Struers. They always meet our needs quickly and efficiently.BRP Powertrain GmbH & Co. KG (Austria) Herr Thomas Brunmair Supervisor Material Lab

Since adopting Struers equipment, we have made significant savings within our manufacturing process as a result of reduced manpower requirements and productivity improvements.Nissan Motor Manufacturing UK Ltd. John Smart Production Supervisor